From Project-Configuration to Execution
The Cider-CI project configuration undergoes several transformations from its
initial form as given in the cider-ci.yml file to the final unit as an
executable part of a job. This article discusses the transformations and
shows how intermediate results can be inspected. Understanding this process
enables us to perform debugging efficiently and helps us to write better
project configurations.
- created: 2016-08-07
- level: intermediate, advanced
- keywords: project configuration, debugging, deffective state, validation
Table of Contents
- Prerequisites
- Phase 1 - From the Project File to the Project Configuration
- Phase 2 - From the Project Configuration to the Job Specification
- Phase 3 - From the Job Specification to the Task Specification
- Phase 4 - Creating and Executing Trials
- Conclusion and References for Further Reading
Prerequisites
This article is written for intermediate to advanced readers. An understanding of the basic entities (see e.g. an Introduction to Cider-CI), and the Cider-CI project configuration (see .e.g The Cider-CI Configuration File) is recommended.
Phase 1 - From the Project File to the Project Configuration
During the first phase from the cider-ci.yml file to the project
configuration the include and read_and_replace_with directives are
evaluated. We will discuss the effects of both directives shortly before
showing how the result of the transformation can be inspected.
The include Directive
The include directive causes a YAML or JSON file within the project to be
included in the project configuration. This feature helps to split a large
project configuration into digestible pieces and also to reuse them.
A basic include statement as shown causes the contents
of the file cider-ci/data/m1.yml to be included under the key
environment_variables.
task_defaults:
  environment_variables:
    include: 'cider-ci/data/m1.yml'
Let us assume that the file cider-ci/data/m1.yml reads as
the following.
A: m1a
Then the result after the include has been evaluated will read as the following.
task_defaults:
  environment_variables:
    A: m1a
To be included files may contain include directives themselves. Cider-CI will
parse and merge nested includes recursively in DFS order. The value of the
include statement can also be a sequence of files which will cause all of
them to be read and merged together. It is also possible to reference
files in submodules to be included.
All these features are demonstrated in the Include Demo. This demo is also
used for testing the include feature and hence a reference. The inner
workings are is explained on the Sharing Data page in the Cider-CI
documentation.
The read_and_replace_with Directive
The include directive will exclusively accept maps to be included in the
project configuration. The read_and_replace_with directive can be used to
read an arbitrary file as text into the project configuration.
This is in particular interesting for reading values into environment variables
because those can be evaluated withing the exclusive_executor_resource via
templating. See the The exclusive_executor_resource Property of the
Cider-CI documentation for further details.
The directive in the project configuration reads as in the following example.
environment_variables:
  READ_FILE_CONTENT:
    read_and_replace_with: string.txt
This feature is demonstrated in the Read and Replace With Demo. This demo is also used for testing and hence functions a reference.
Inspecting the transformed Project Configuration
The result of the first transformation after include and
read_and_replace_with have been evaluated is attached to the "tree" in
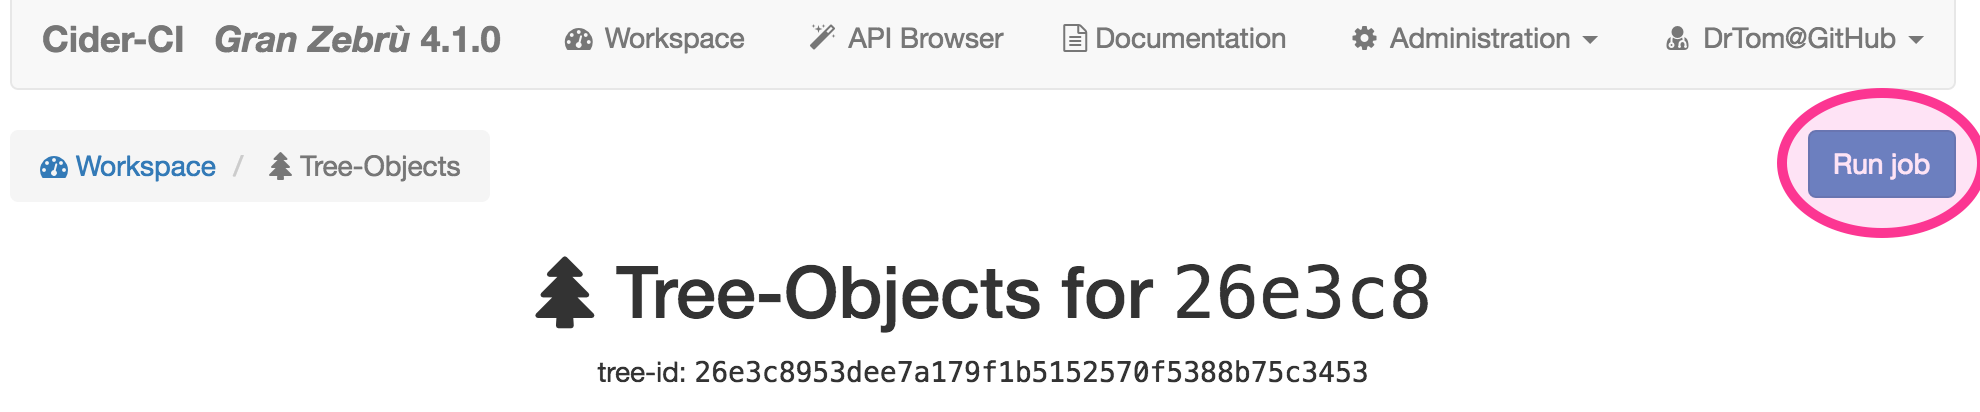
Cider-CI and can be reached from the workspace page.
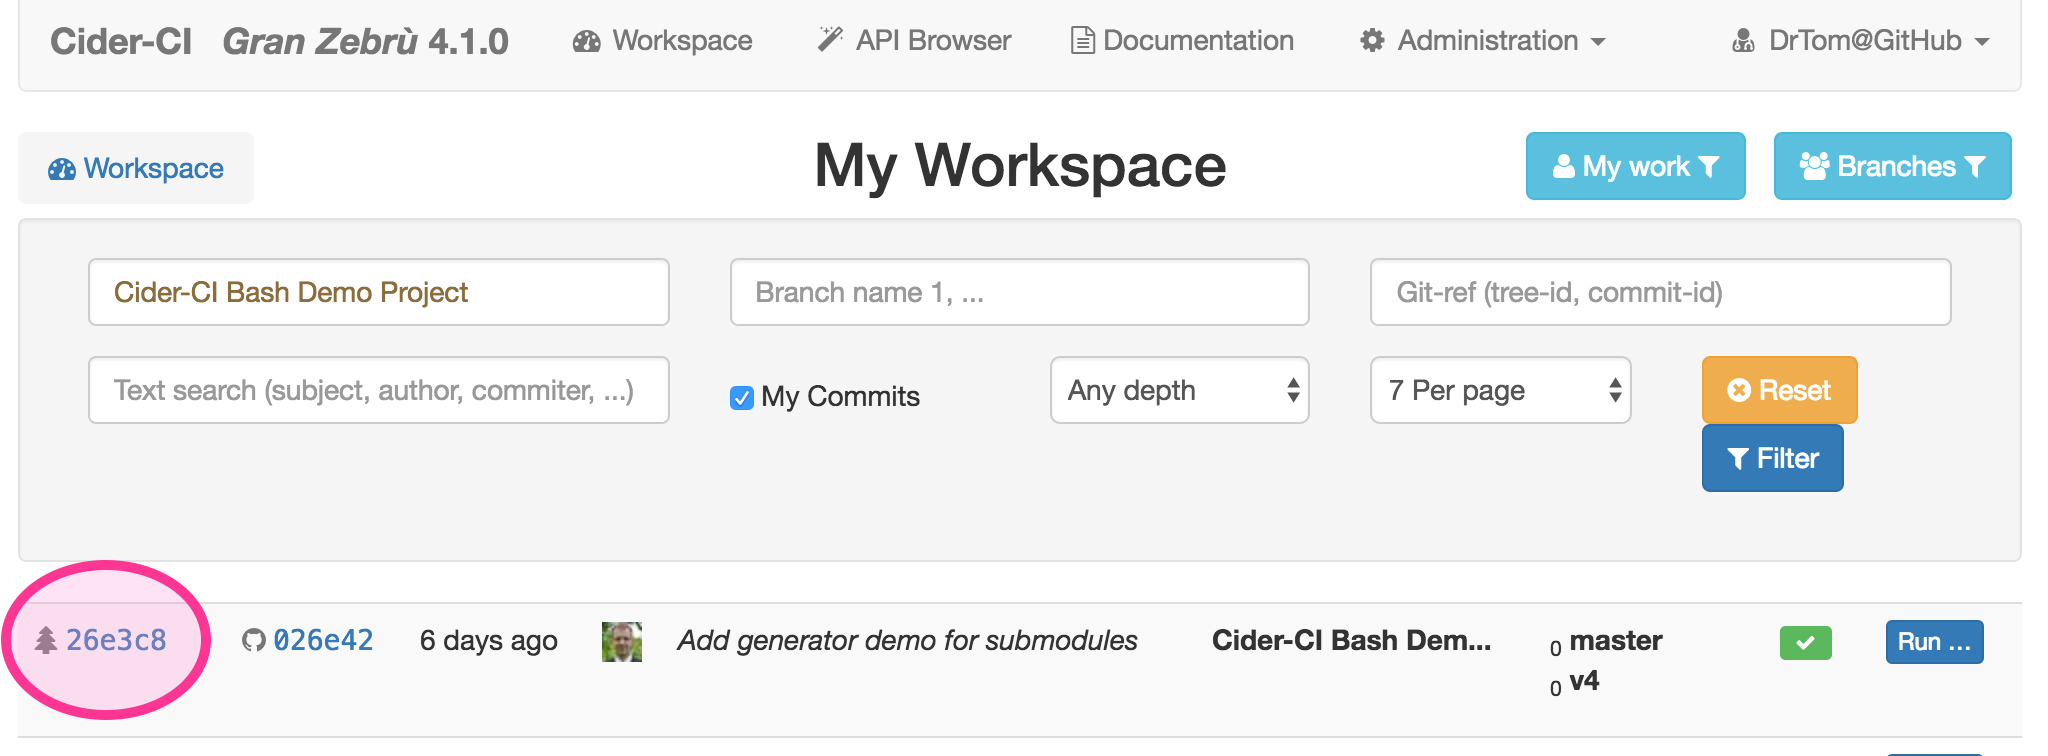
From "the tree page" the link "Project-Configuration" will lead to a page where the result of the first transformation can be inspected directly.
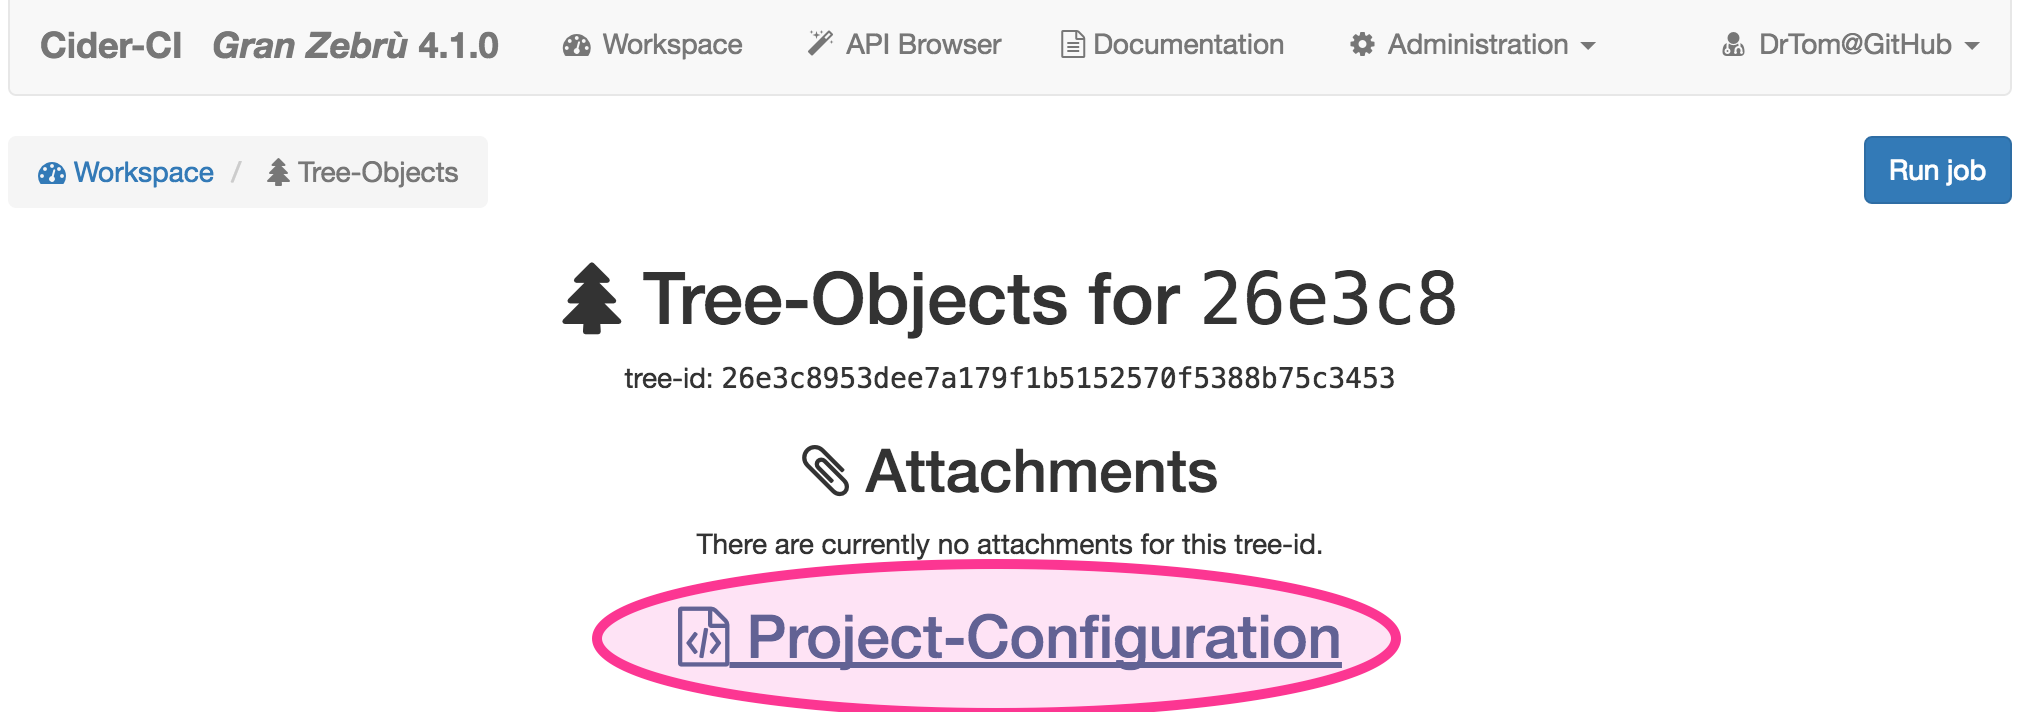
The project configuration page displays the project configuration formated in YAML. There are links on this page which give raw access in either YAML or JSON format.

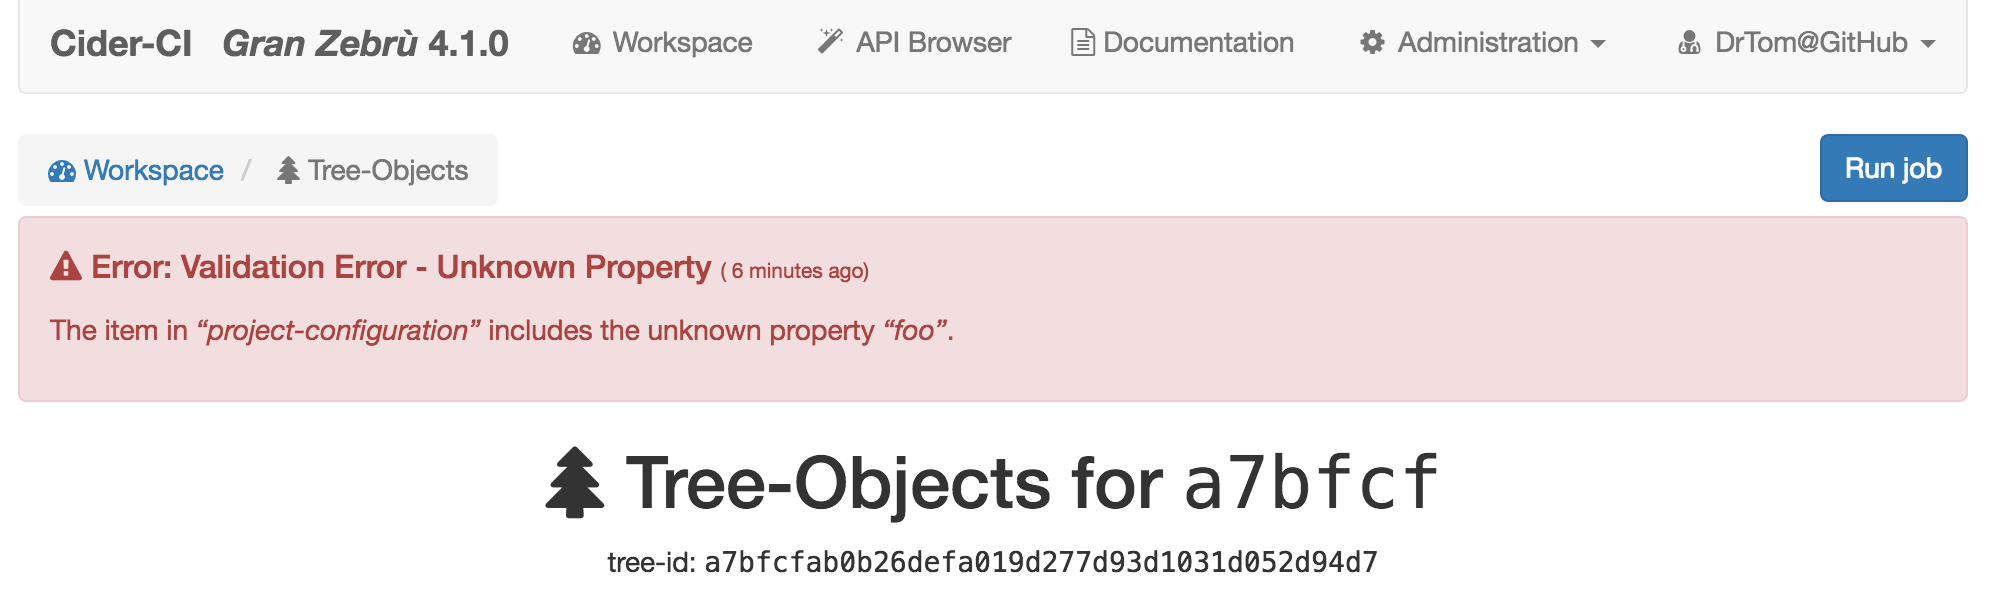
Validation and Errors
The project configuration and derived artifacts will be rigorously validated since Cider-CI version 4.
If we add the illegal key foo for example to the configuration file a warning
sign will be visible in the workspace page.
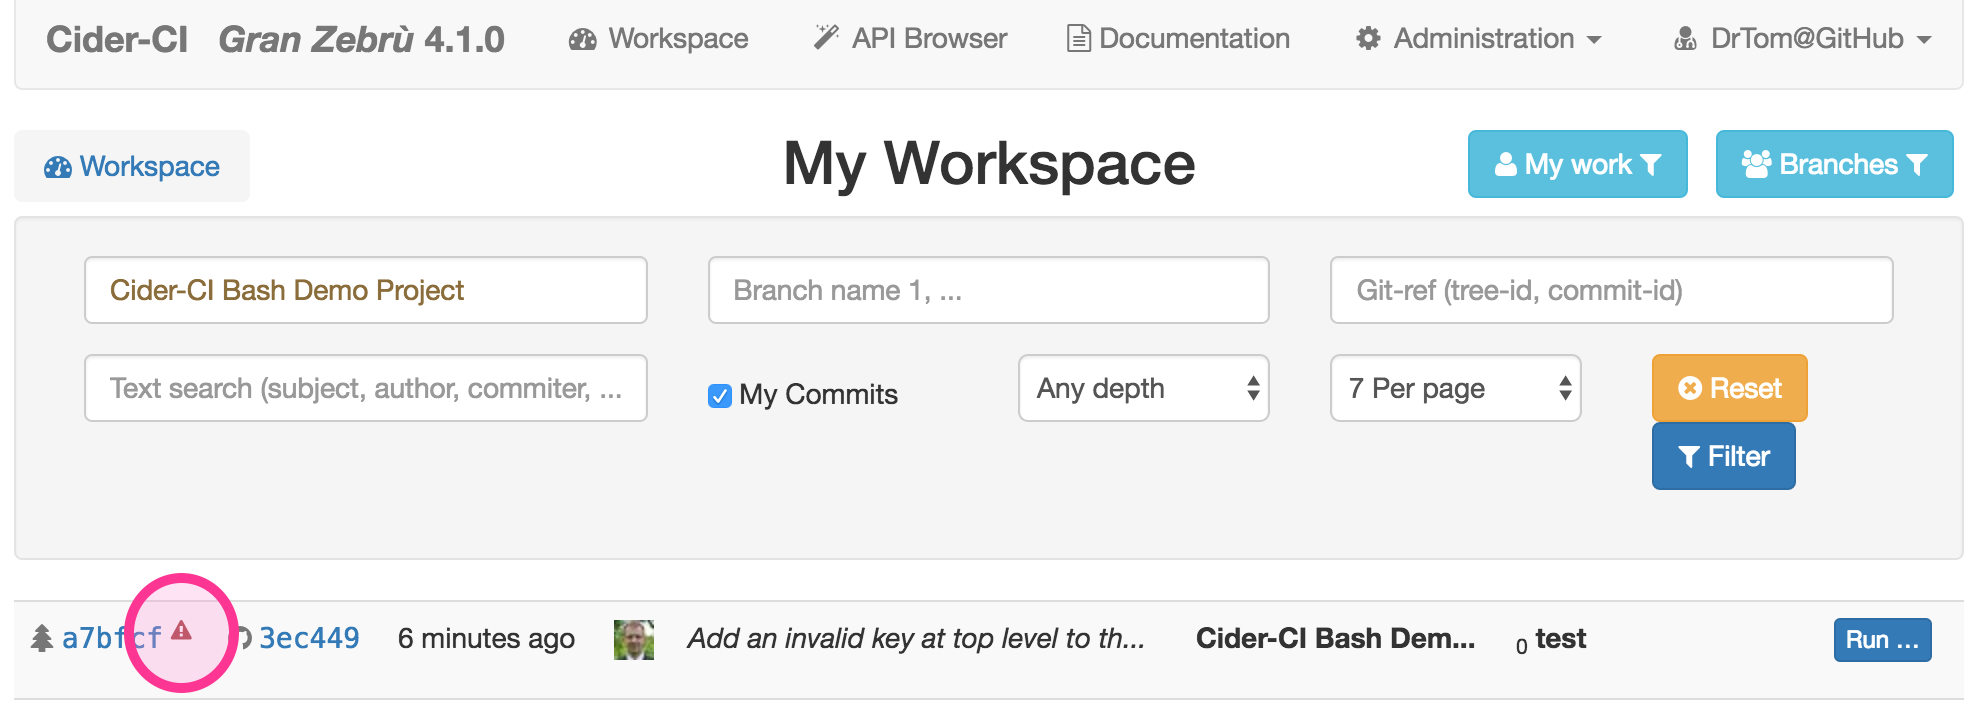
The tree page shows an extended error message describing the problem with details.
It is not possible to start any jobs for a configuration which does not pass this initial validation.
Phase 2 - From the Project Configuration to the Job Specification
We need to start a job to inspect the outcome of this phase.
Inspecting the Job Specification
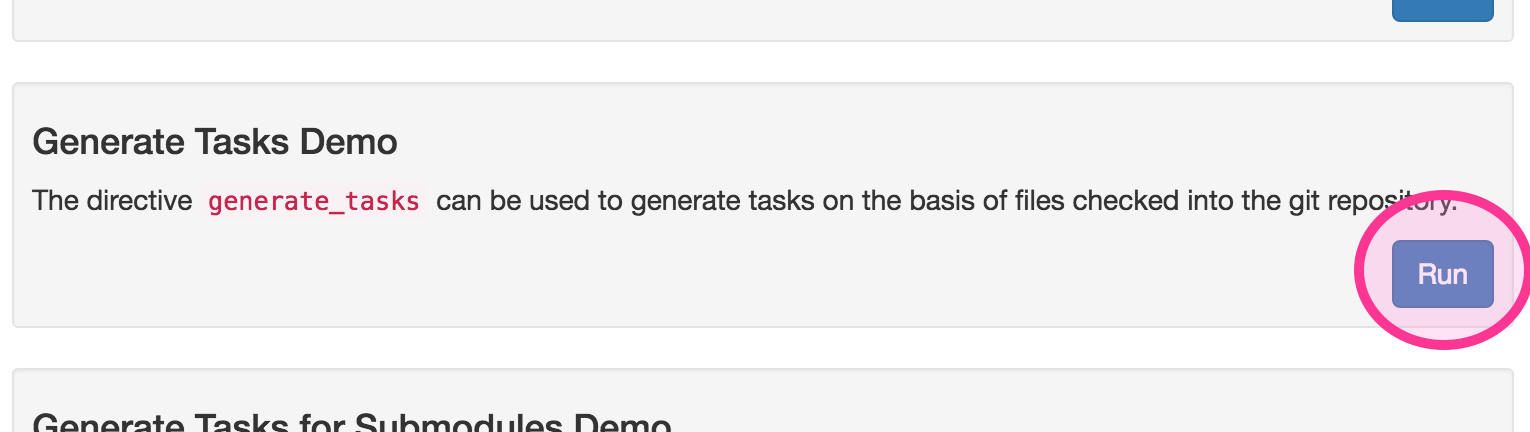
We use the "Run job" link from the tree page. The workspace page has "Run" buttons for convenience, too.
We run the "Generate Tasks Demo" for example.
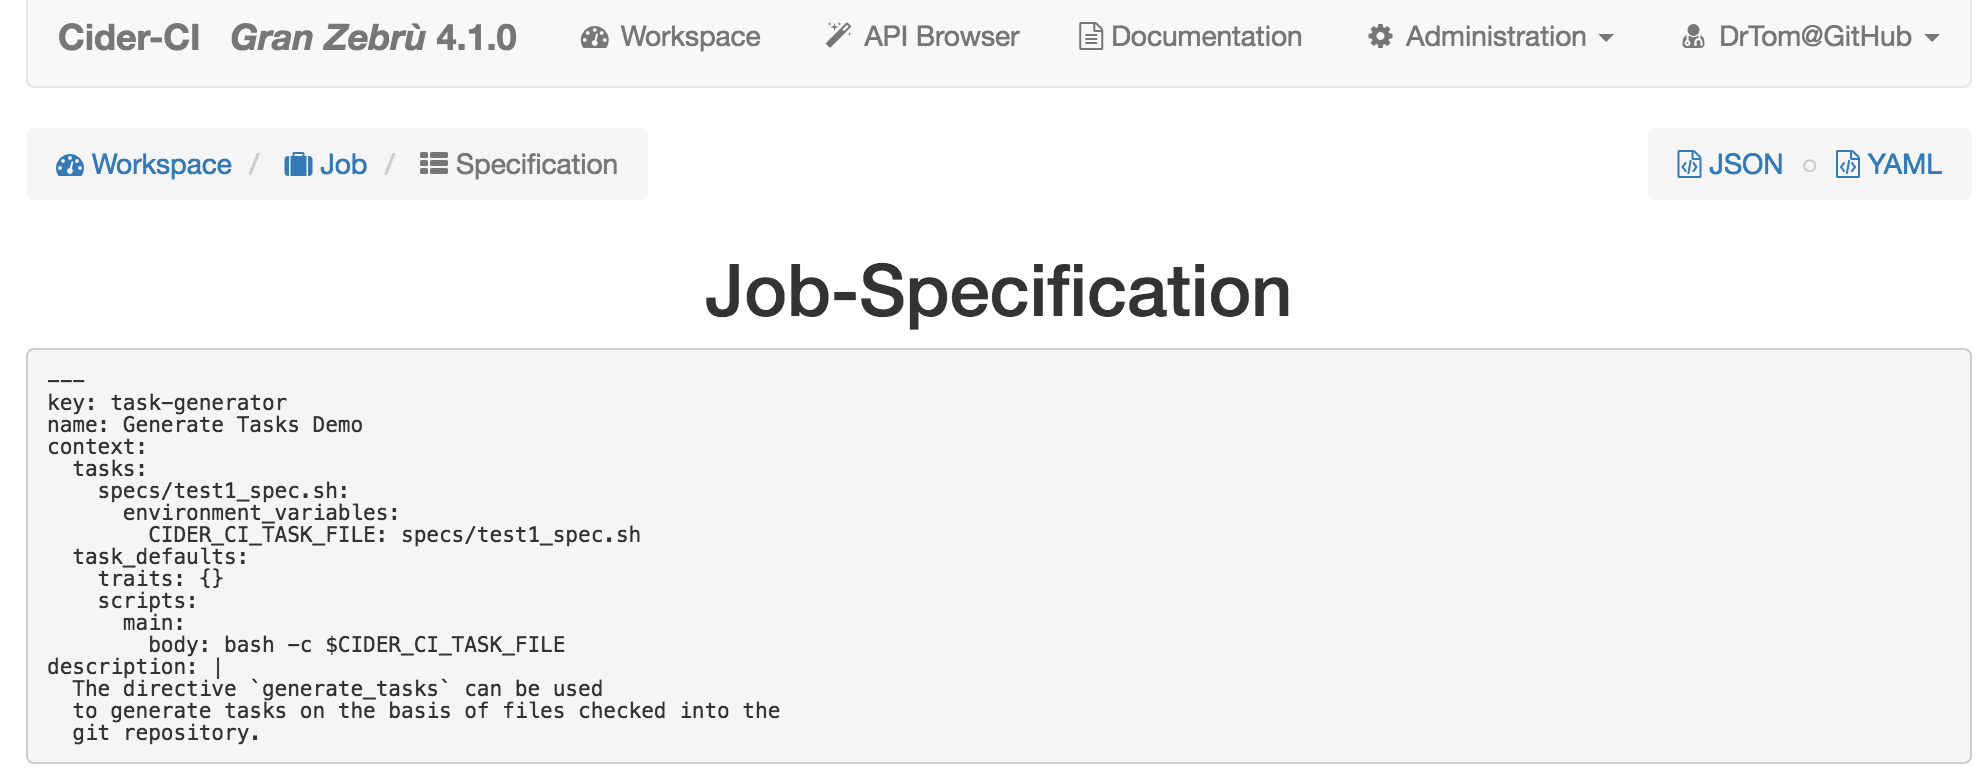
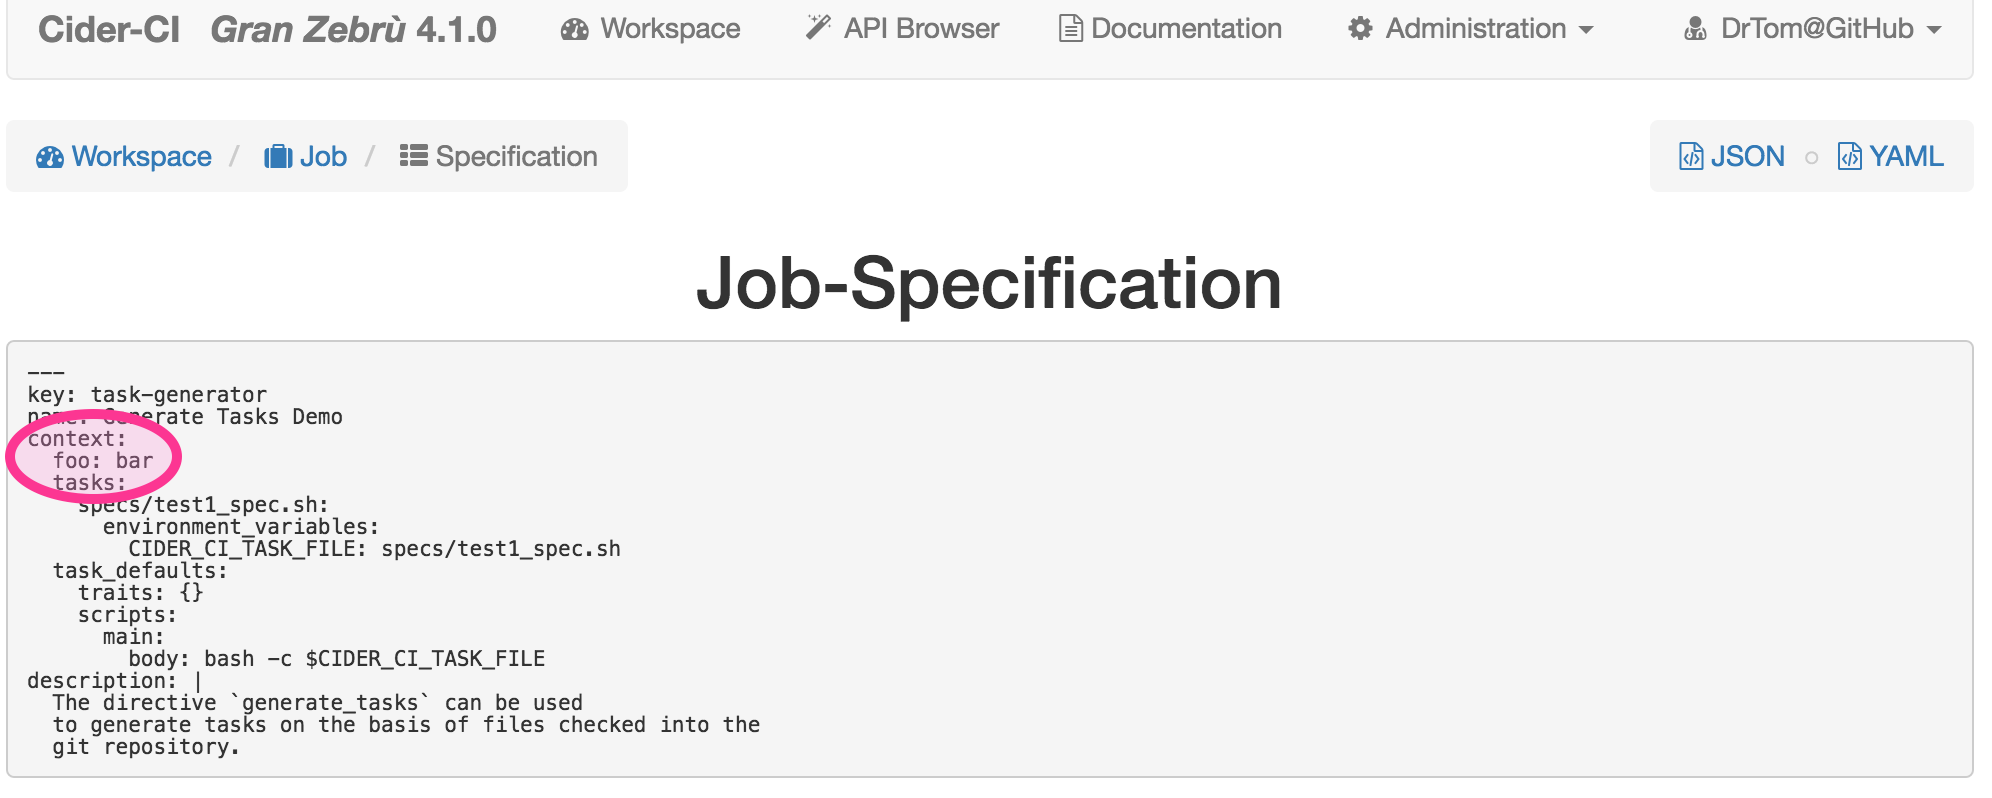
The job page will have a link to the "Job-Specification".
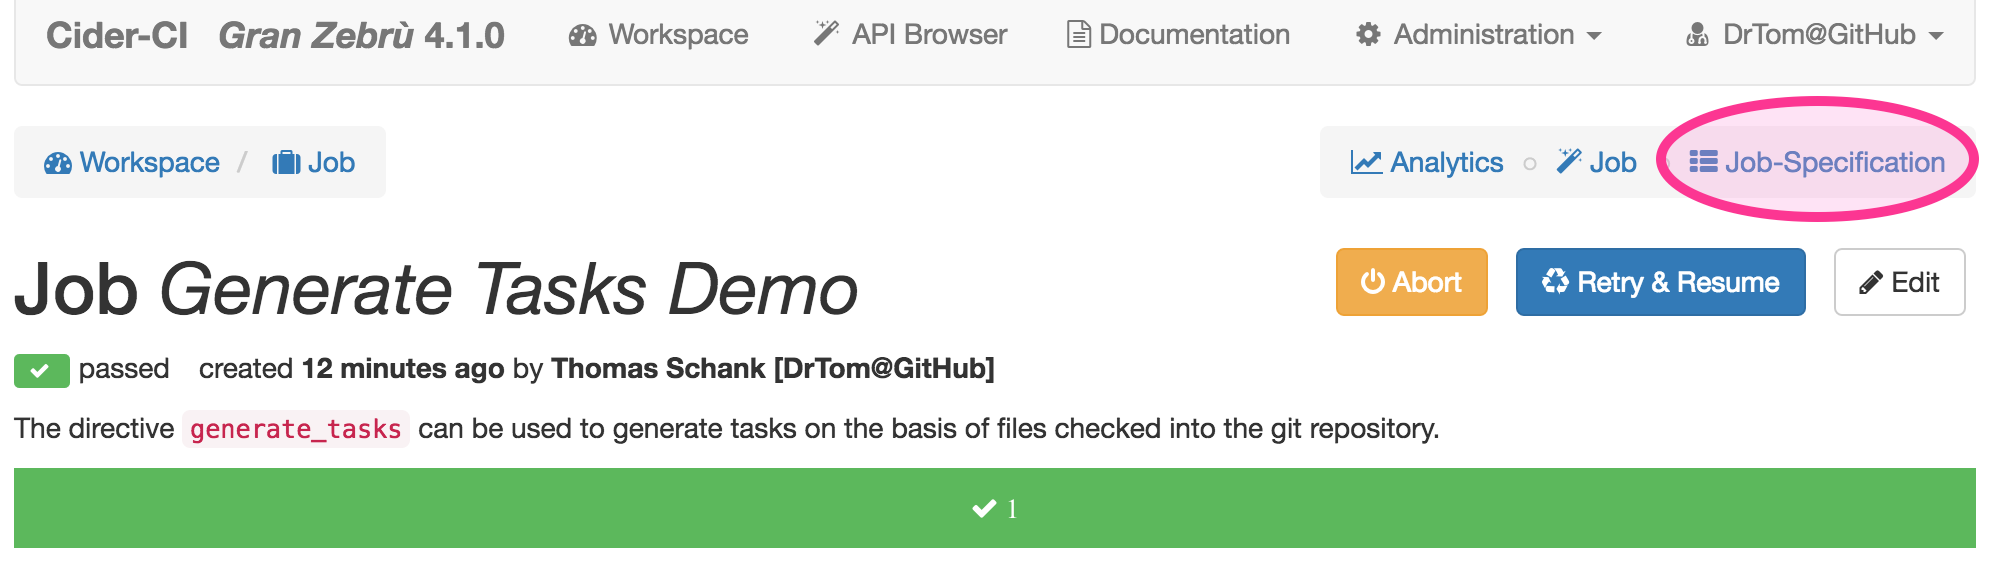
The layout of this page is similar to the page for the project configuration.
Validation and Errors
It is possible to define a illegal configuration which only manifests during the validations in this phase.
Note that the state of the job is "defective" as opposed to "failed". The state "defective" has been added in Cider-CI version 4 precisely to distinguish between real failures and misconfiguration as well as other not foreseen problems.
Also no tasks and trials have been created or executed.
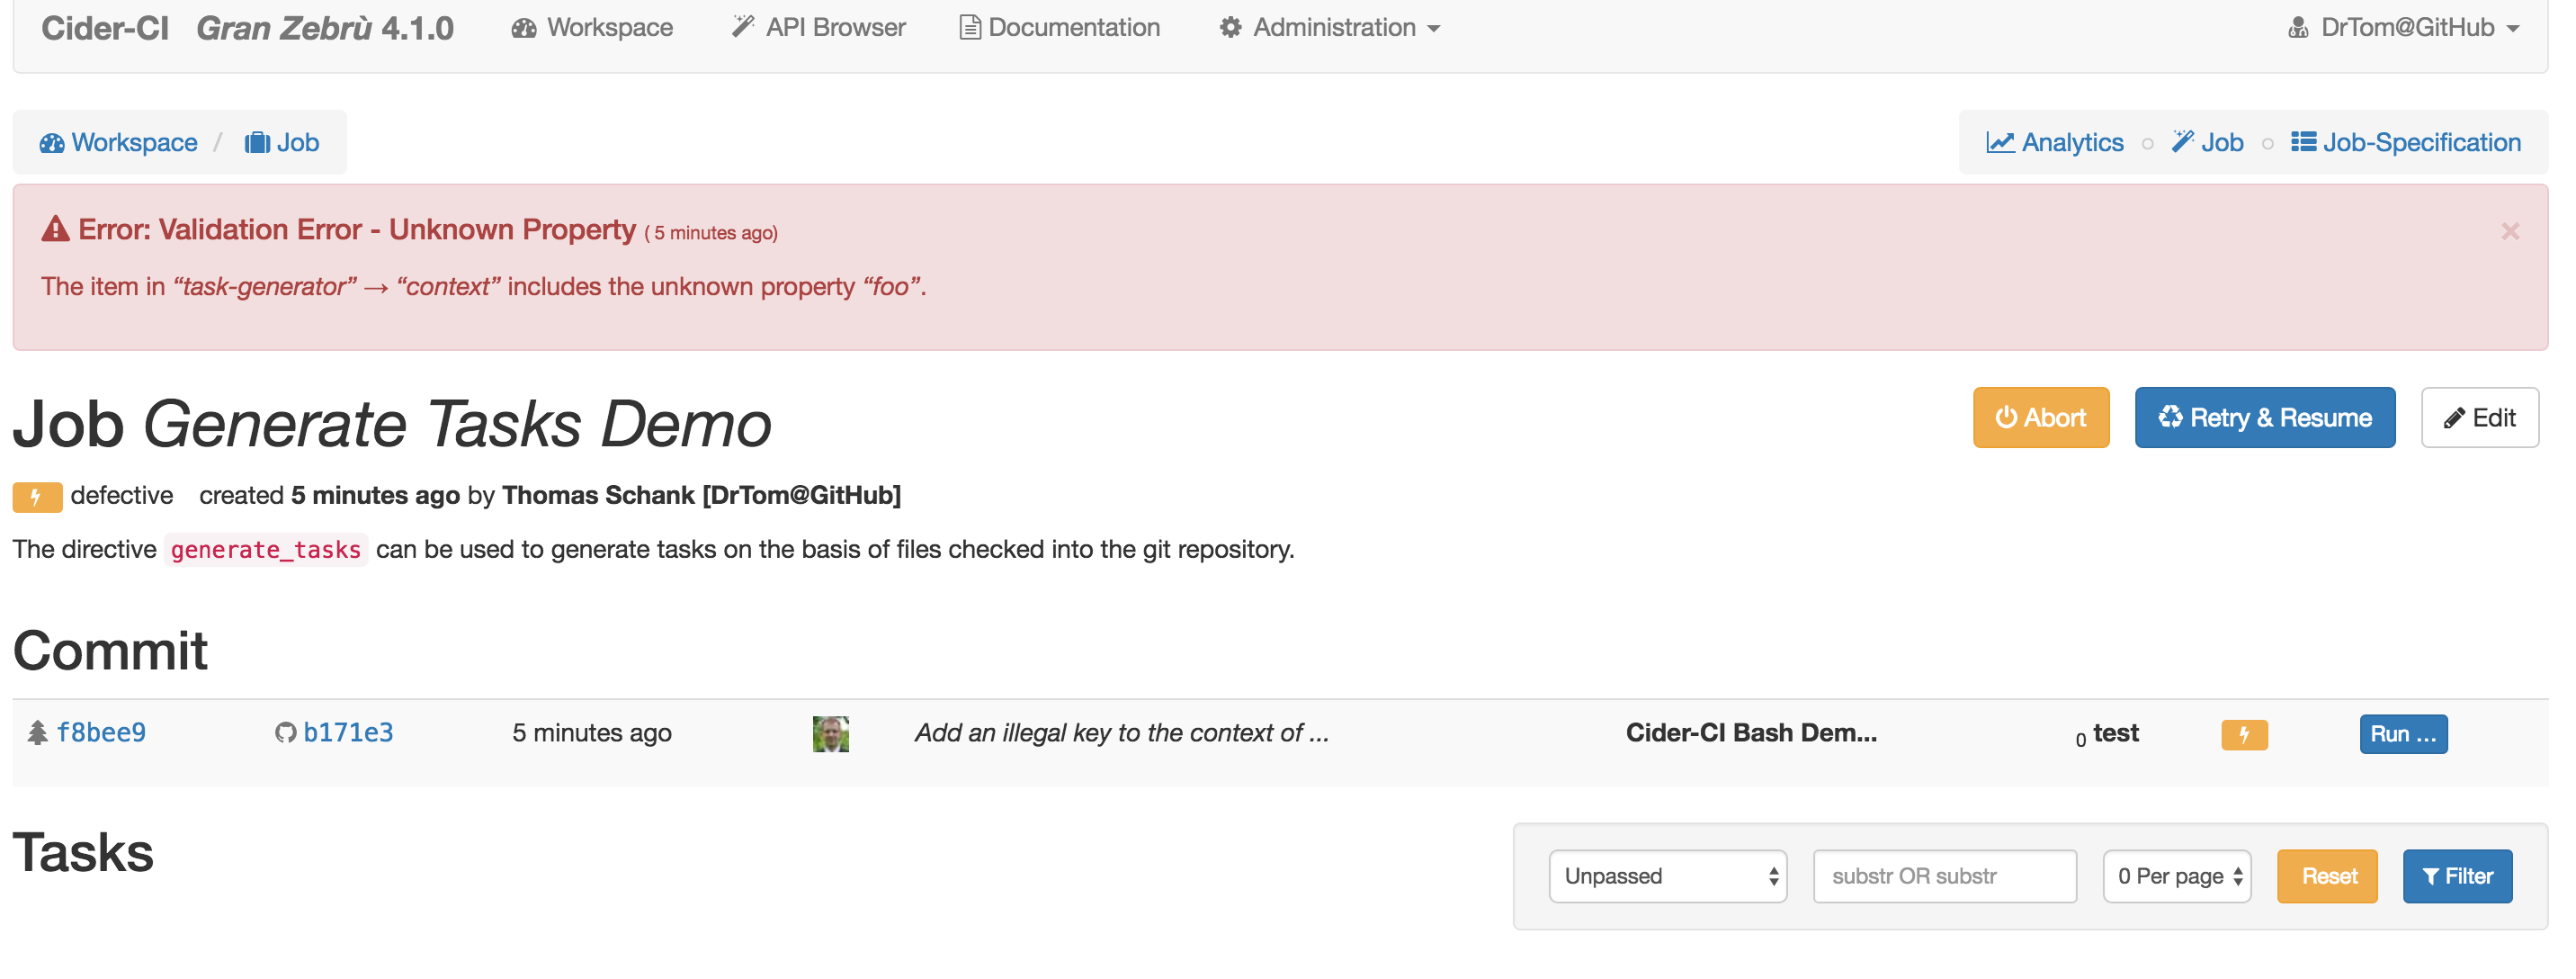
We can now investigate the project configuration to find out about the underlying misconfiguration with ease.
Phase 3 - From the Job Specification to the Task Specification
Now all the tasks are created and validated within a single transaction. If a validation fails or an other problem occurs everything is rolled back and an error will be attached to the job which can be inspected as we have seen in phase 2.
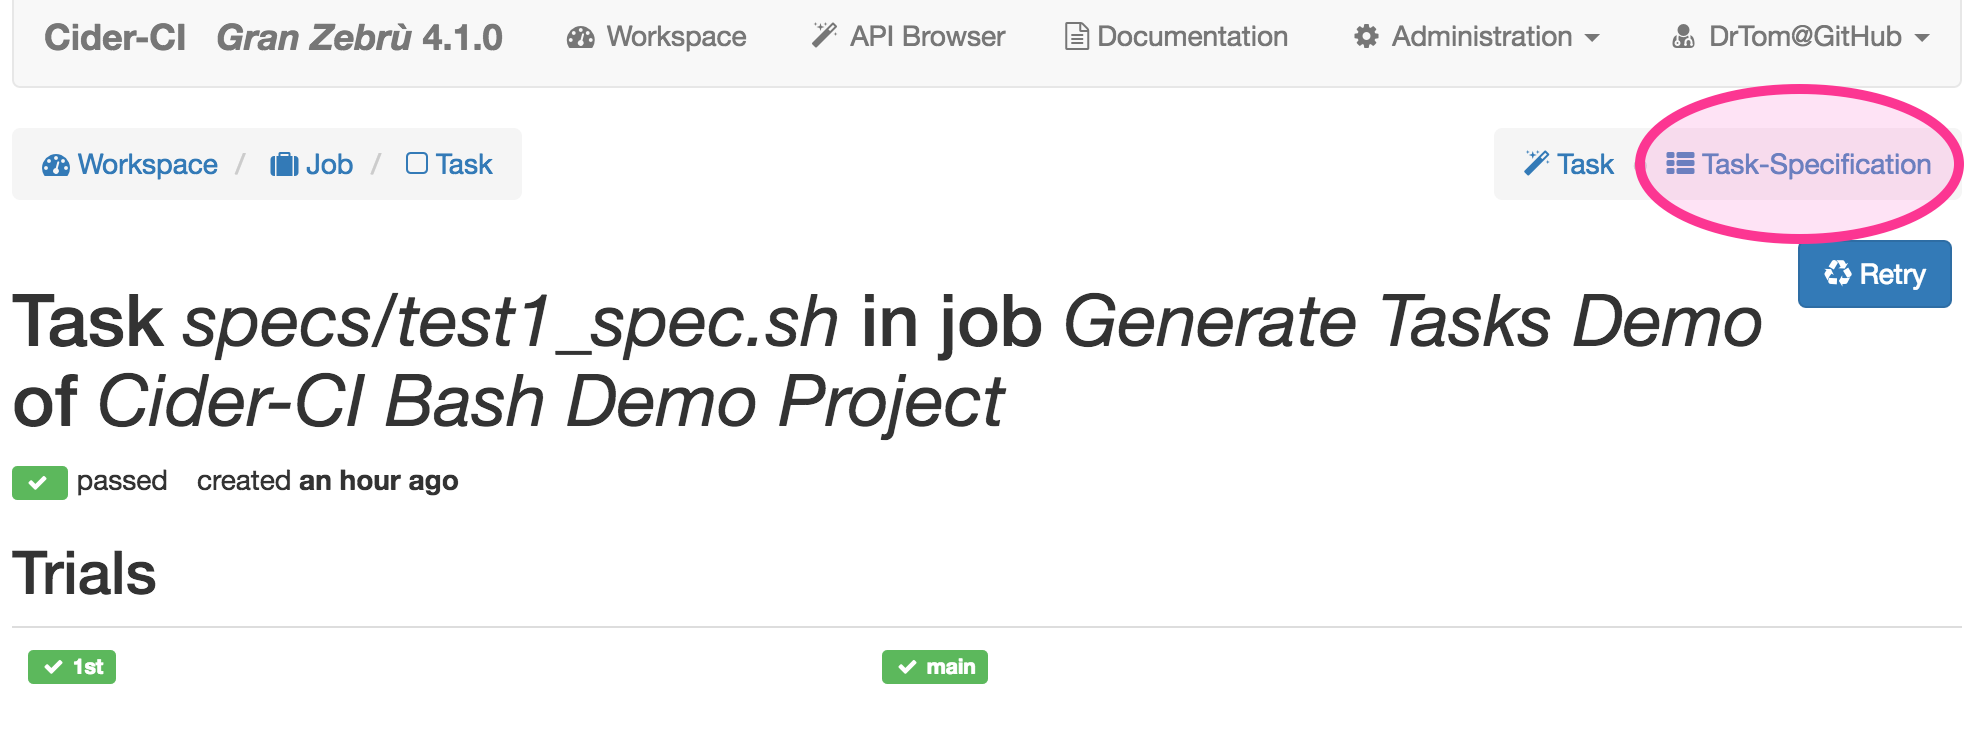
The task specifications are the main outcome of this phase. They are of interest when things do not behave as expected in the next phase when trials are created, dispatched and results are collected.
Phase 4 - Creating and Executing Trials
Trials are created and dispatched after all the tasks and their specifications have been created and the corresponding transaction has been committed.
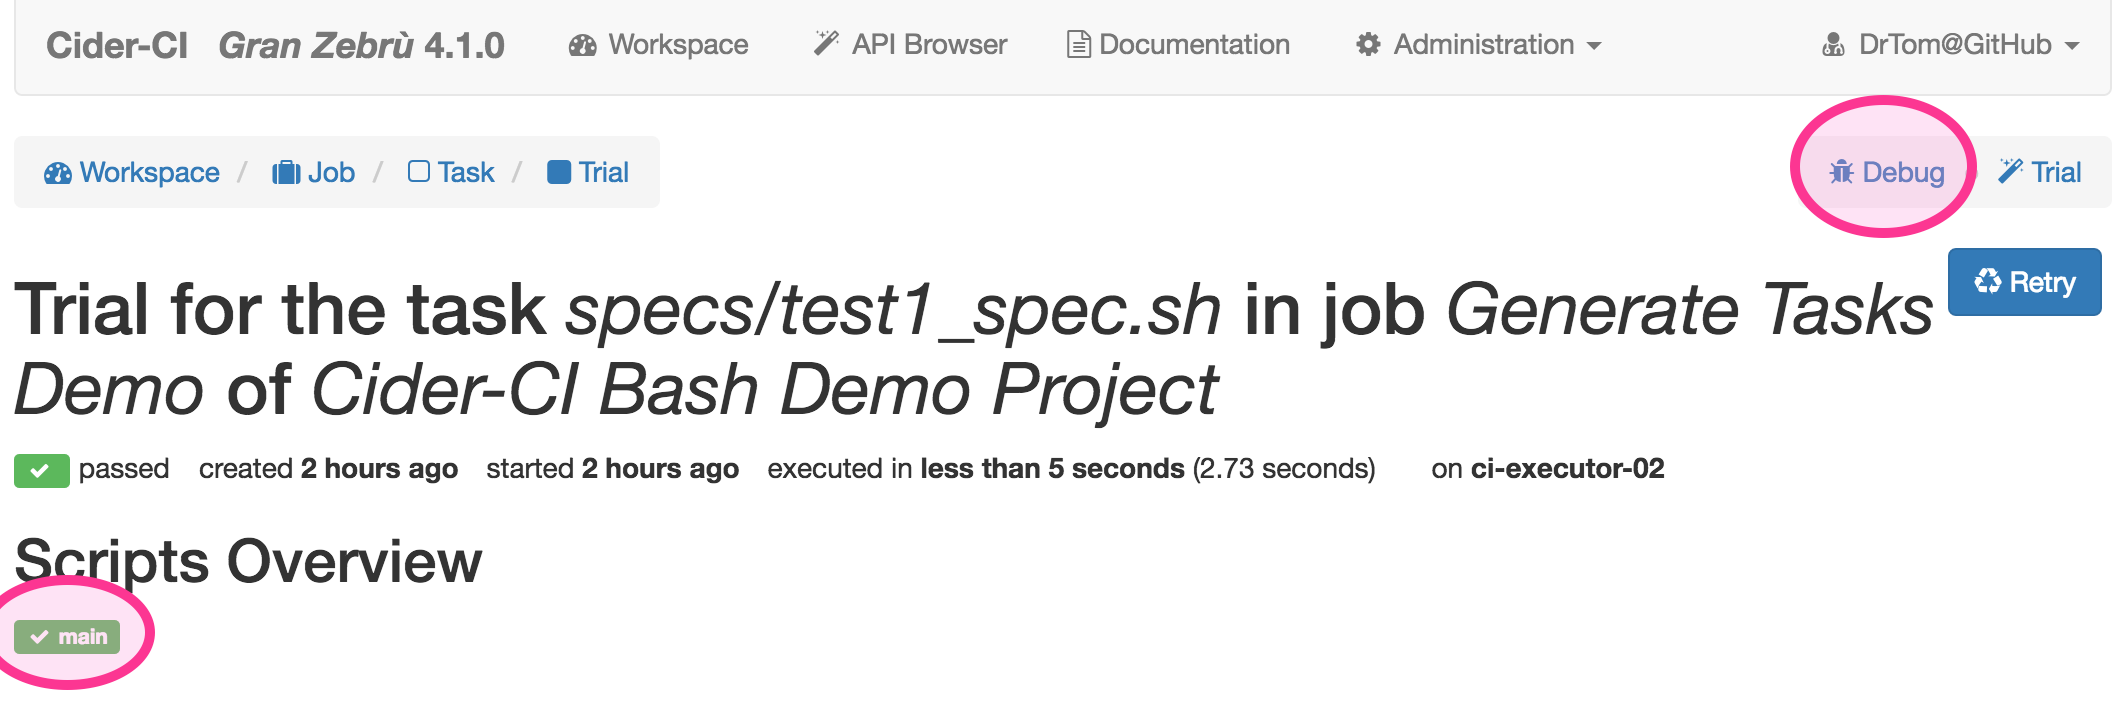
The scripts of a trial can be inspected from the links of the trial page. On the trial page is also a link to the debug page. This page features details to which executor the trial has been dispatched to and where its working directory can be found.
Conclusion and References for Further Reading
We have split the transformation from the initial configuration file to creating executable units in four major phases. Each phase has a distinctive outcome which can be inspected via the Cider-CI user interface.
The page Data Flow of the Cider-CI documentation reveals more details about the transformation process.